Workspace basics
Learn how to navigate and use the Adobe Photoshop workspace.
You create and manipulate your documents and files using various elements, such as panels, bars, and windows. Any arrangement of these elements is called a workspace. (The workspaces of different Adobe creative applications share similar appearances so that you can move between the applications easily.) You can adapt Photoshop to the way you work by selecting from several preset workspaces or by creating one of your own.
Home screen
When you launch Photoshop, the Home screen appears, which includes the following:
- Information about new features.
- A wide range of tutorials to help you quickly learn and understand the concept, workflow, tips, and tricks.
- Display and access your recent documents: Cloud documents owned by you and accessed or shared with you recently will also show up under Recents in the home screen. Also, you can filter cloud documents with a keyword. When offline, you can still filter cloud documents using a keyword but the cloud documents available online only will appear to be greyed out.
- If necessary, customize the number of recent files displayed. Select Preferences > File Handling and then specify the desired value (0-100) in the Recent File List Contains field.
The contents of the Home screen are tailored based on your familiarity with Photoshop and your Creative Cloud membership plan.
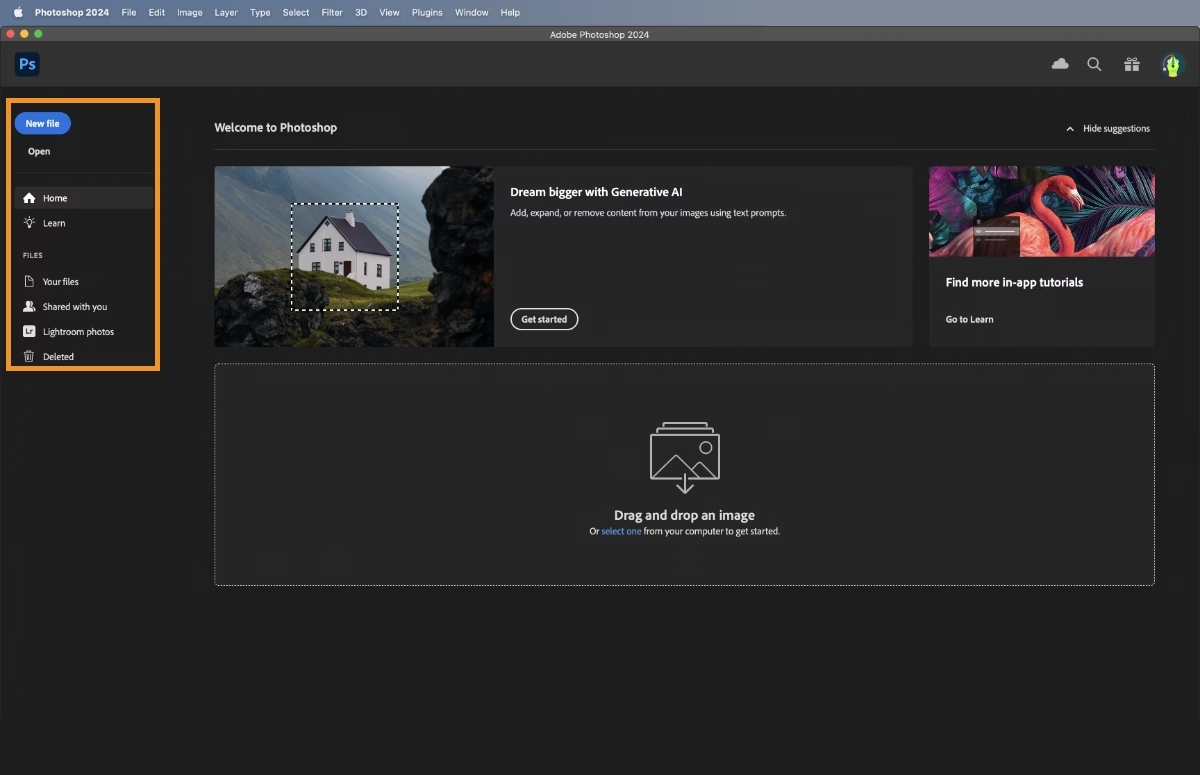
To access the Home screen at any point while working on a Photoshop document, select the Home icon in the Options bar. To exit the Home screen, simply press the Esc key.
The Home screen shows the following tabs and buttons on the left:
- New file: Select this button to create a new document. You can create a document by selecting one of the numerous templates and presets available in Photoshop.
- Open: Select this button to open an existing document in Photoshop.
- Home: Select this tab to open the Home screen.
- Learn: Select this tab to open a list of basic and advanced tutorials on Photoshop to get started with the application.
- Files: Files section shows you all your files.
- Lightroom Photos: Select this tab to access your synced Lightroom photos and import them into a Photoshop document.
- Your files: View a list of all saved cloud documents in Photoshop, whether created in Photoshop on your desktop, iPad, or web. You can easily toggle between tile and list view.
- Shared with you: View a list of the cloud documents that have been shared with you in Photoshop.
- Deleted: Find a complete list of cloud documents that you have deleted here. You can choose to restore the documents or permanently delete them.
Workspace
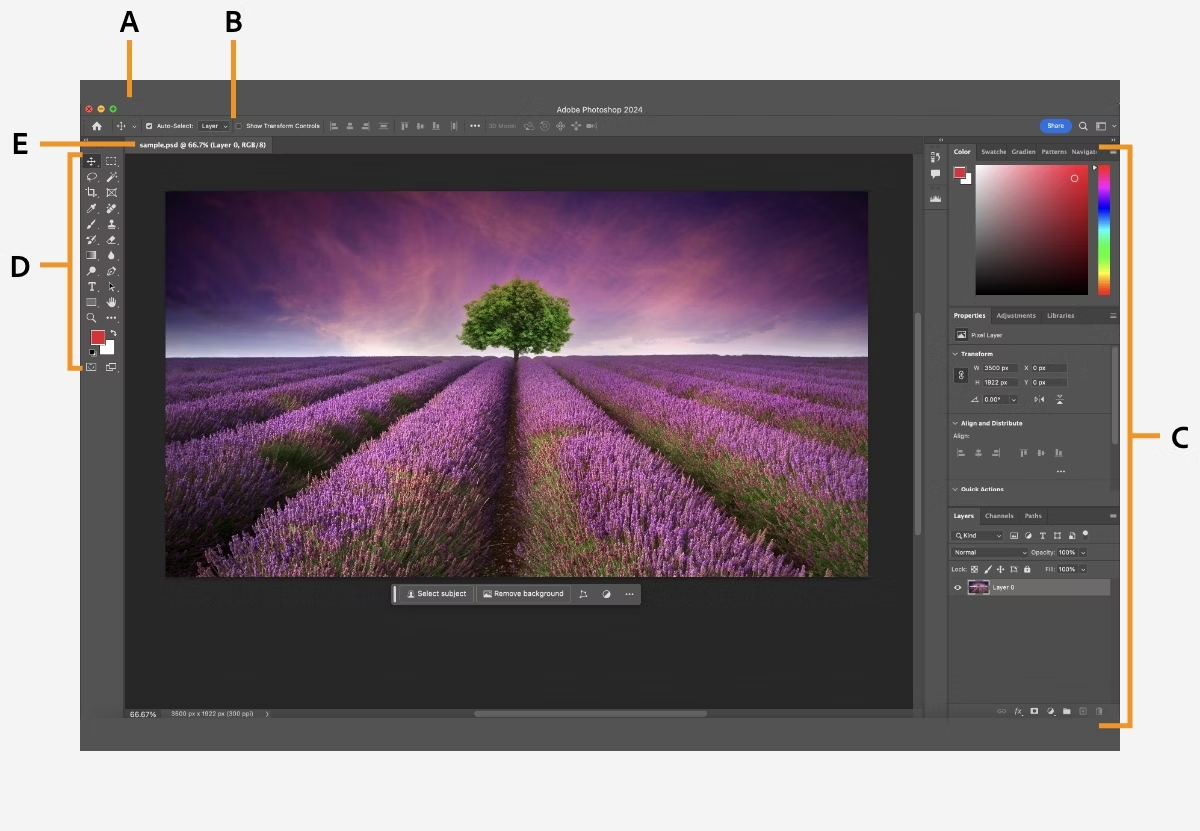
Photoshop Workspace overview
A. Application frame B. Application bar C. Panels D. Tools panel E. Document window
- The Application bar across the top contains a workspace switcher, menus (Windows only), and other application controls. On the Mac for certain products, you can show or hide it using the Window menu.
- The Tools panel contains tools for creating and editing images, artwork, page elements, and so on. Related tools are grouped.
- The Document window displays the file you’re working on. Document windows can be tabbed and, in certain cases, grouped and docked.
- Panels help you monitor and modify your work. Panels can be grouped, stacked, or docked.
- The Application frame groups all the workspace elements in a single, integrated window that lets you treat the application as a single unit. When you move or resize the Application frame or any of its elements, all the elements within it respond to each other so none overlap. Panels don’t disappear when you switch applications or when you accidentally click out of the application. If you work with two or more applications, you can position each application side by side on the screen or on multiple monitors.
- If you are using a Mac and prefer the traditional, free-form user interface, you can turn off the Application frame.
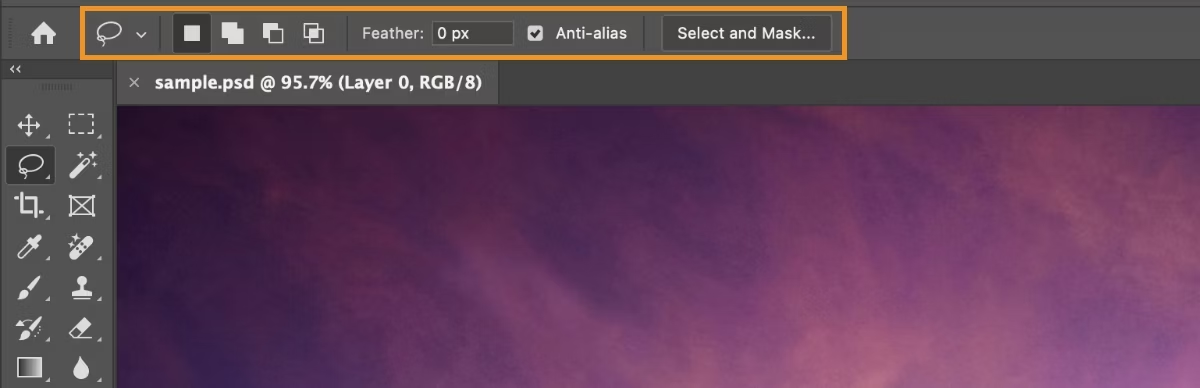
- The Options bar displays options for the currently selected tool.
Contextual Task Bar
- The Contextual task bar is a floating menu that presents the most relevant next steps in your workflow. You can now adjust text alignment, spacing (leading and kerning), and font style (bolding, italicizing, underlining) directly from the Contextual Task Bar.
Usability features
The Photoshop workspace is easy to use and includes a number of usability features:
- On-image displays: Stay informed as you use your favorite tools. On-image displays show selection dimensions, transformation angles, and more. To change the placement of the displays, choose an option from the Show Transformation Values in the Interface preferences.
- Maximized screen space: Select the button at the bottom of the toolbar to switch between Standard and Fullscreen display modes.
- Set Interface color: You can customize the interface to one of the following color themes:
Black, Dark Gray, Medium Gray, and Light Gray. To do this, follow these steps:
- Choose Edit > Preferences > Interface (Windows) or Photoshop > Settings > Interface (macOS)
- Choose the desired color theme
Hide or show all panels:
- To hide or show all panels, including the Tools panel and options bar, press Tab.
Display panel options:
- Typically, the panel menu icon is a gear icon or three horizontal lines located in the top-right corner of a panel. Select this icon to go through the menu items.
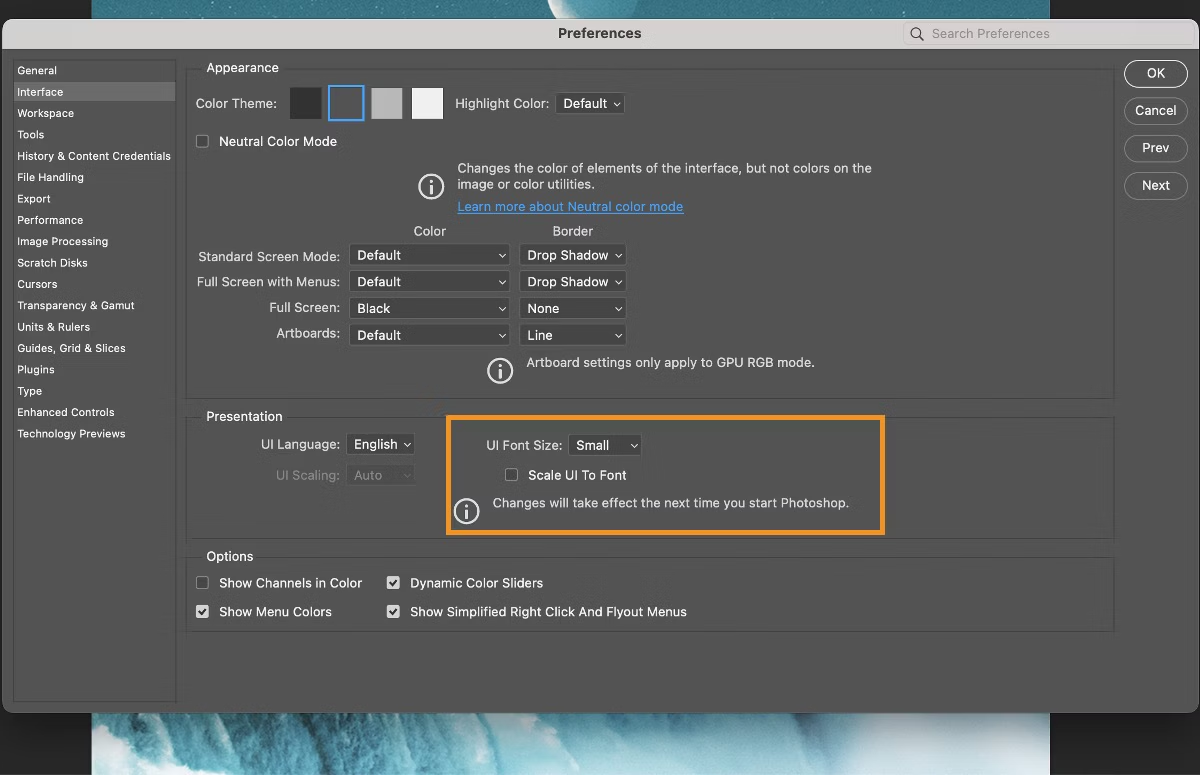
Change the font size of text in panels and tooltips
Change the font size of the text in panels and tooltips by navigating to Photoshop > Preferences > Interface.
In the Interface preferences, choose a size (Tiny, Small, Medium, Large) from the UI Font Size menu. Select Scale UI To Font to scale the entire Photoshop UI based on the chosen UI font size.
Reconfigure the Tools panel
By selecting the double-arrow >> icon positioned at the upper-left corner of the Toolbar, you can enlarge it, transforming it into a more compact, double-column format. Select the arrows once more to revert to the original single-column layout.